📤 Send
A send order is the stock that will be sent out from a MTM warehouse. This page will guide you through the process of creating a send order, adding items to the order and adjusting the quantities of each item in the order.
Creating Send Orders
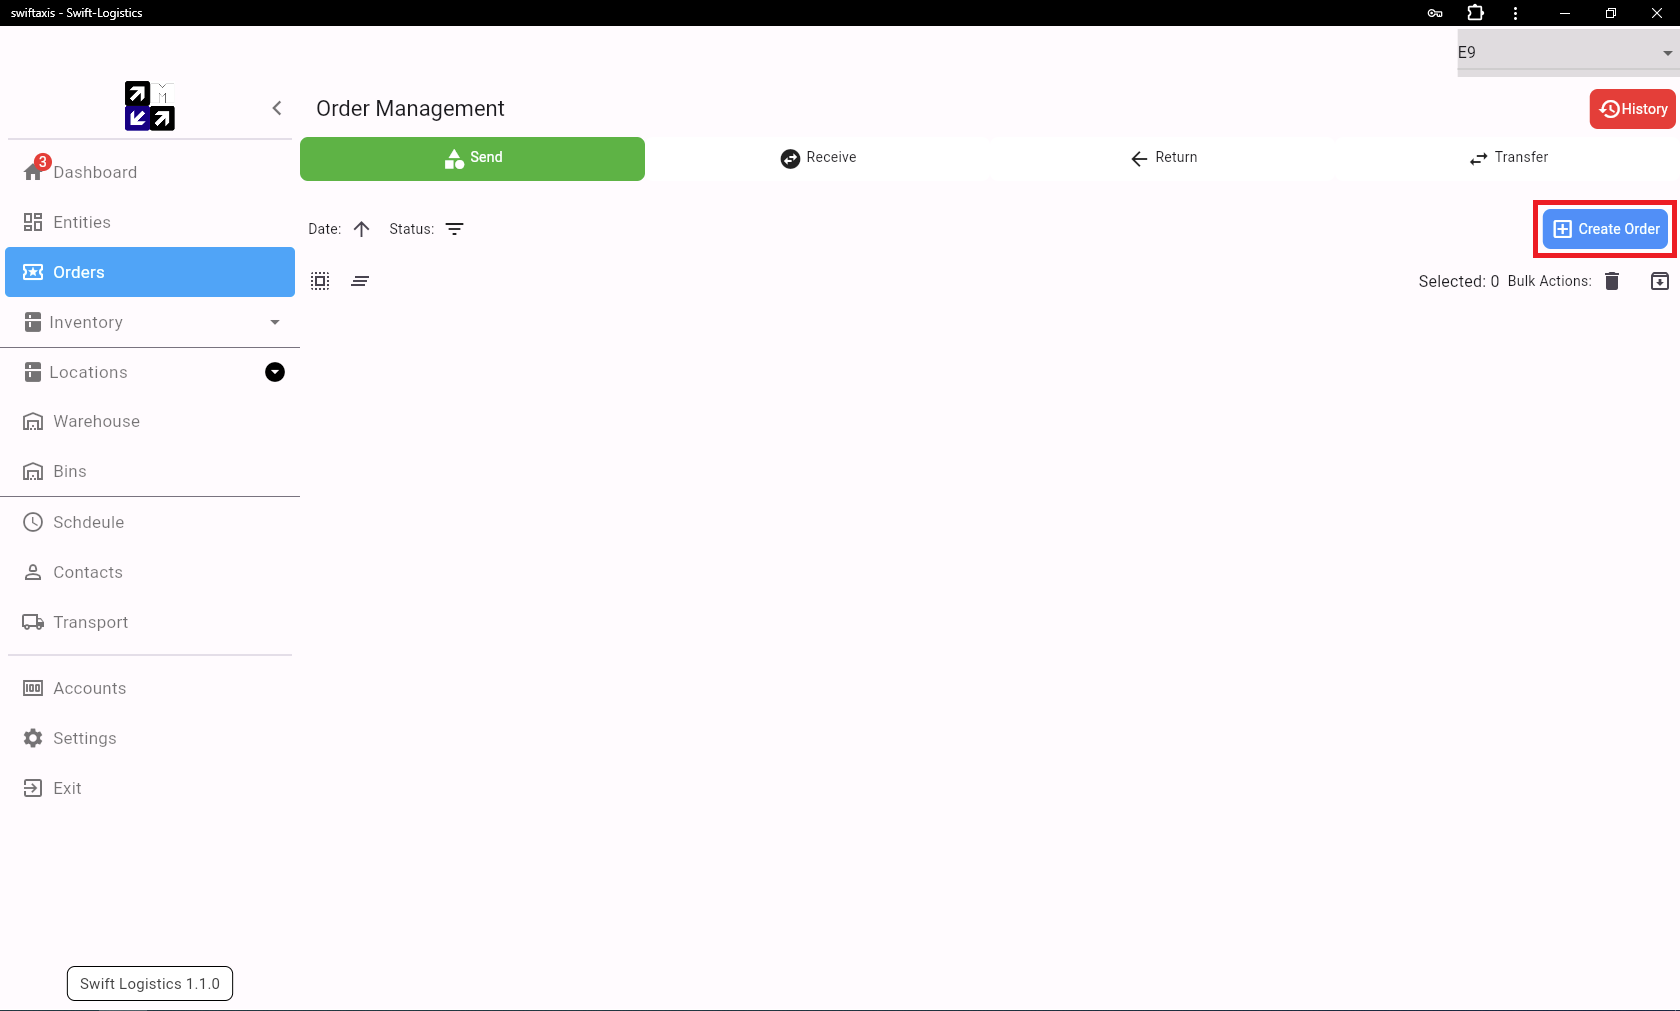
To navigate to the Order Management Page, start by clicking on "Orders" from the dropdown menu on the right side of the screen. This action will open the Order Management Page, where you can access various functions related to order processing.
To create and send an order, locate and click on the "Create Order" button. This action will initiate the process of generating a new order and preparing it for sending.
Adding order detail
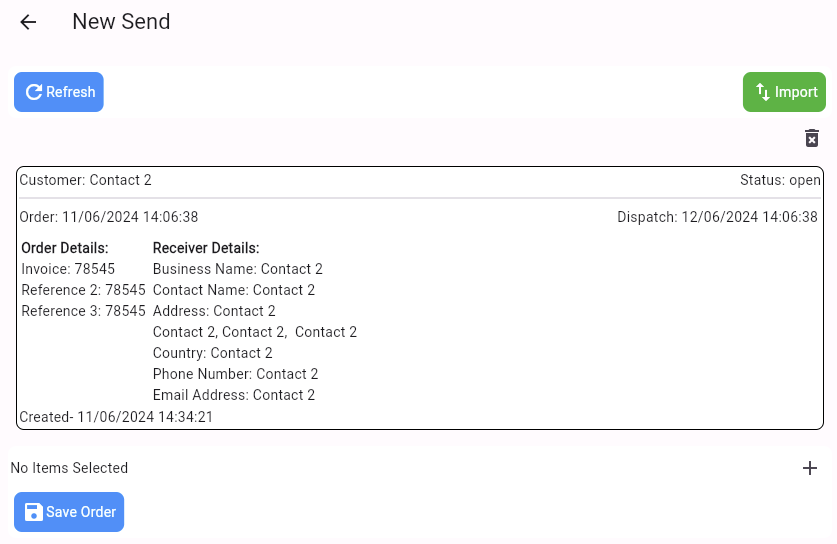
Upon clicking the "Create Order" button, you'll be directed to the New Send Page. Here, you need to input the customer details, select the warehouse location, and provide a reference for the order. The customer information will be used to generate a delivery label, so ensure it is entered correctly. The warehouse location specifies which of the MTM warehouses your stock should be shipped from, and the reference number ensures the order is correctly tracked and managed.

If the customer's details for the order are not available, you can easily add a new customer as shown here:
How to add customerAfter filling in the order details, it's important to press the Save Order Details button (2) to ensure that the order is saved correctly. Once pressed, the screen will update to reflect the order details, and you'll be able to proceed with adding items to the order. This step ensures that all information is accurately recorded before moving forward with the adding items process.
Adding items to Send orders
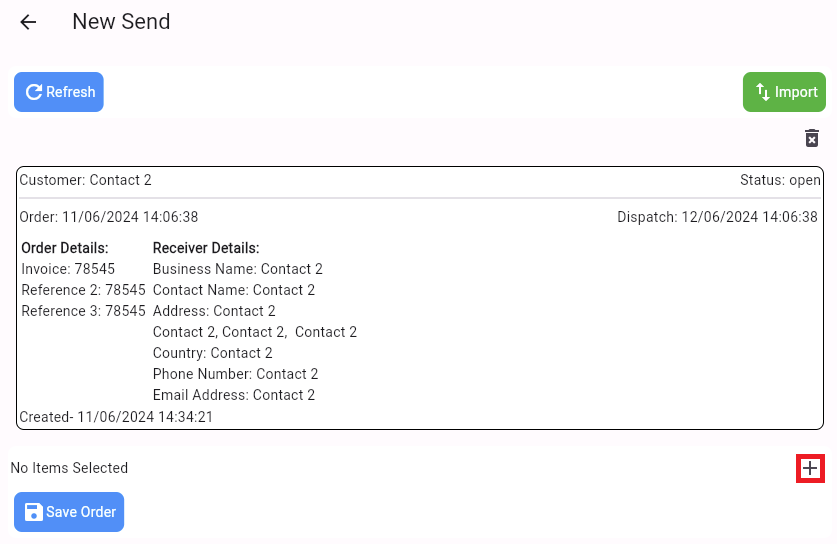
Clicking on the "Add Item" button will open the "Select Items" page. Here, you can browse through the available items and select the ones you wish to add to the order.
Adding items to order
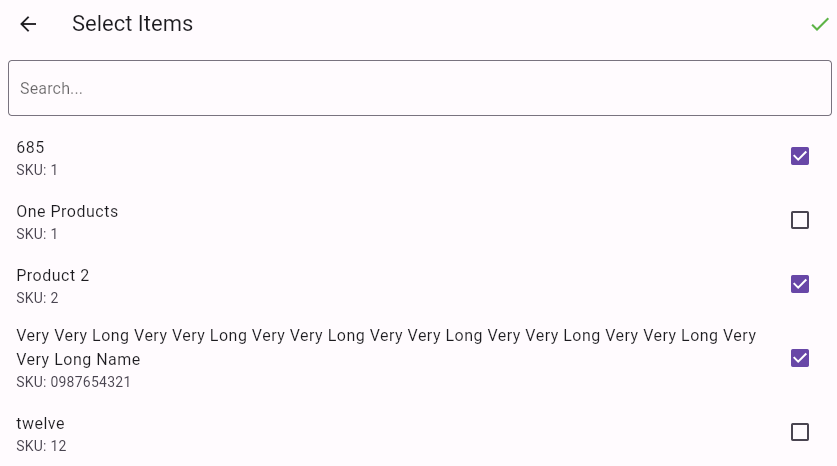
On the "Select Items" page, you'll see all available inventory items, and you can use the search bar to quickly find specific items. A purple tick mark indicates the item has been selected, once all the items have been selected press the green tick in the top right to finalize and reopen the New Send screen.
From this page, you'll see a display of all items available in the inventory. To quickly find the items you need for your order, you can use the search bar located on the page. Simply type in keywords related to the items you're looking for, and the search function will filter the displayed items accordingly, making it easier for you to locate and select the items you want to add to the order.
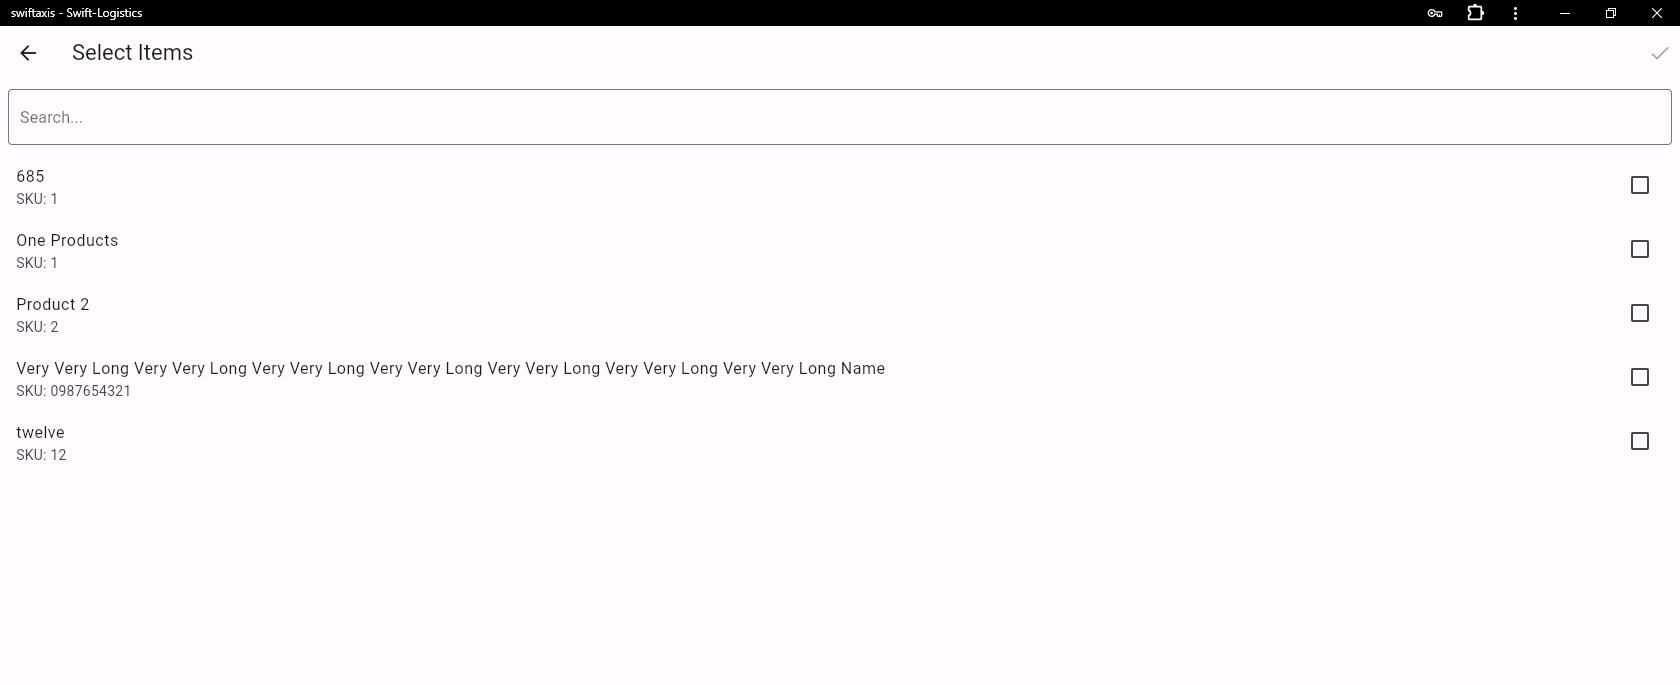
Once you've selected an item by clicking on it, you'll notice a tick mark to the right of the item turn purple, indicating that the item has been selected for the order. In the top right a green tick will appear pressing this will finalize the item selection process and reopen the New Send screen, allowing you to continue with the order creation process. This ensures that you can efficiently add items to the order and seamlessly transition back to managing the order details.
Adding quantities to items
On this page, the items selected will appear at the bottom, providing a clear overview of your chosen items. To the right of each item, you can input the quantities needed for the order, allowing you to customize your order according to your requirements. Additionally, each item will display important details such as the available quantity, QTY, Ordered and any reserved quantities, providing valuable information to help you manage your inventory effectively and make informed decisions when placing orders.
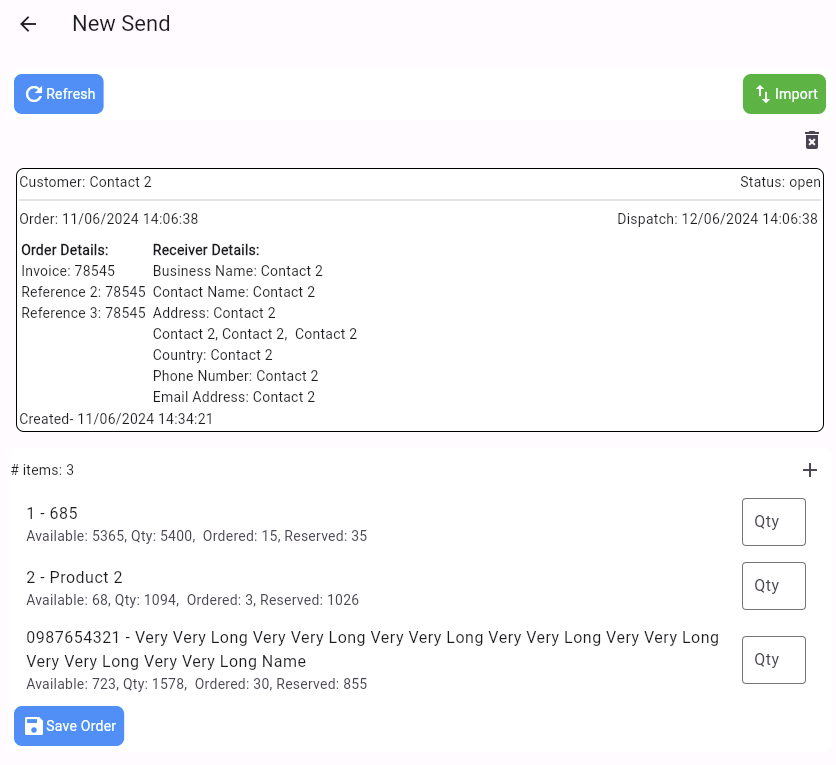
Once you've entered all the quantities for the items, simply press "Save Order" to finalize the order. If you need to create another send order, pressing the Refresh button will reset the page, allowing you to start a new order. To complete the order process, press the back arrow to return to the previous screen, then click on the order again in the Order Management screen to commit and fulfill the order.