📞 Contacts
Contacts tab
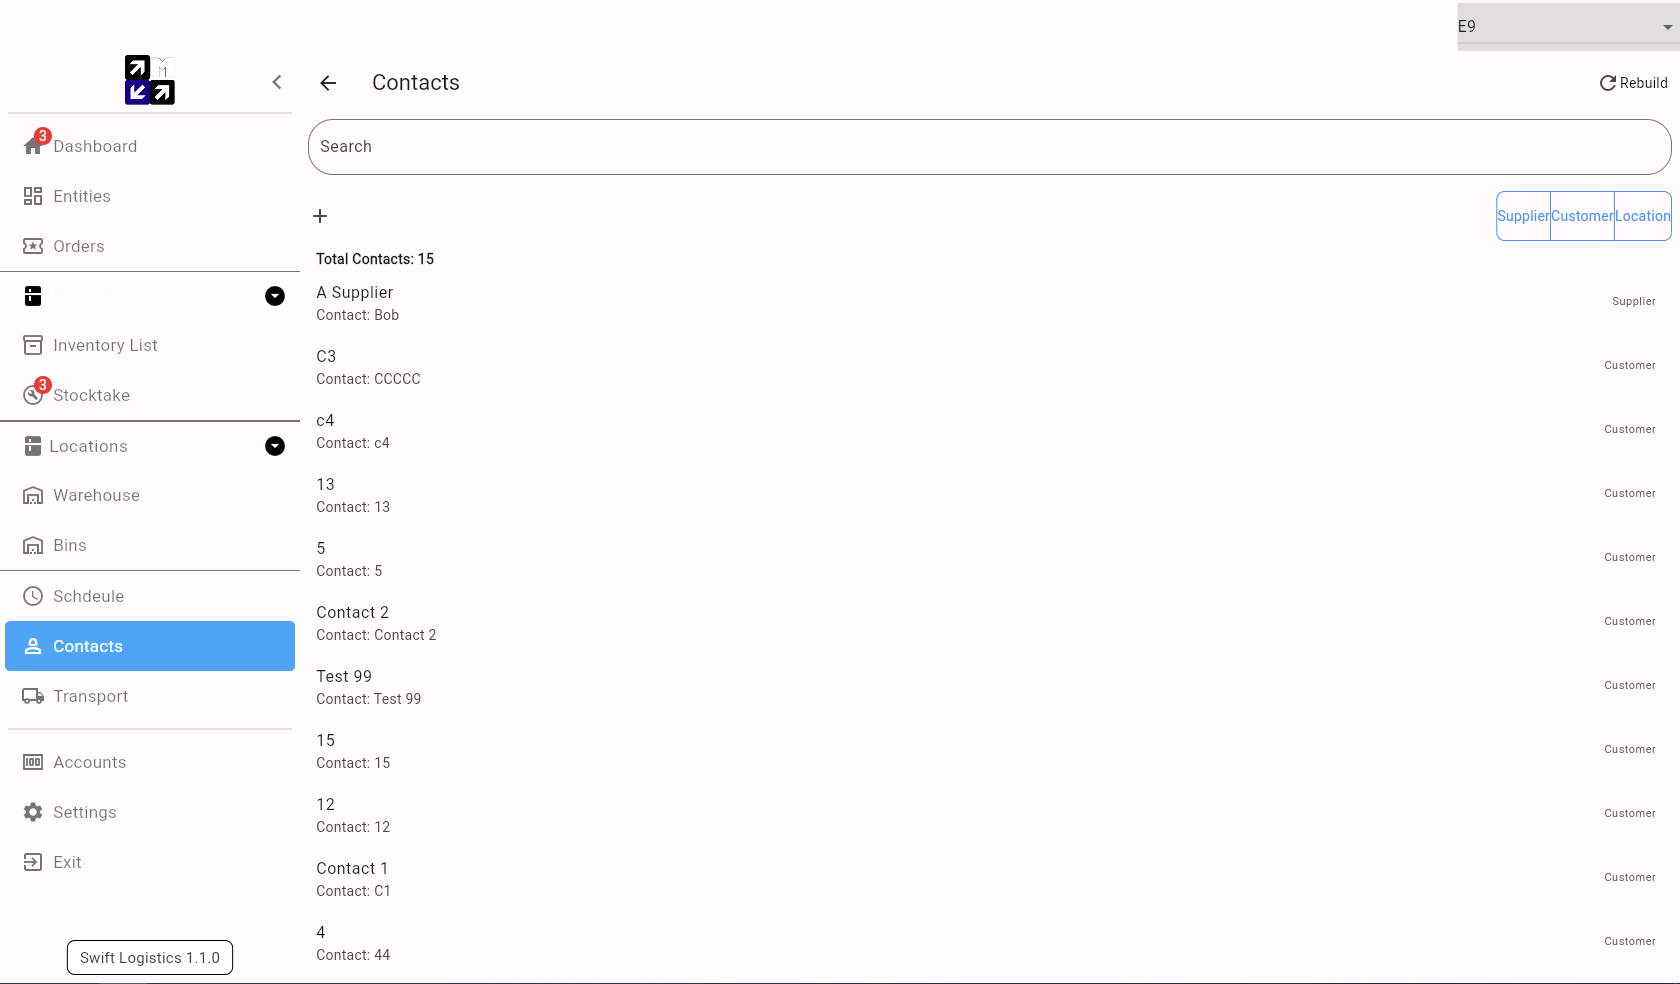
Navigate to the Contacts Page by selecting "Contacts" from the dropdown menu, here you will find a central hub for managing your business relationships.
The body of the page contains a list with all your suppliers, customers, and locations. To streamline your workflow, you can use the sorting buttons on the right to filter the list based on the type of contact you're interested in. This feature simplifies the process of finding and managing contacts.
In the "Contacts" tab contacts can be added and managed. The three main types of contact are suppliers, customers, and locations. To add a contact, click the black plus sign, specify the type, and enter the details. Use the "Rebuild" button to refresh the list. Clicking an individual contact shows their primary details and order history.
Add contact
To add a contact, simply click the black plus sign. This action will open a page where you can specify the contact type: Customer, Supplier, Location, or Not Set. From there, fill in the contact details for the new contact. If there are additional associated addresses, you can add them using the "Add a delivery address" button at the bottom of the page, this will open a list of all contacts to select from.
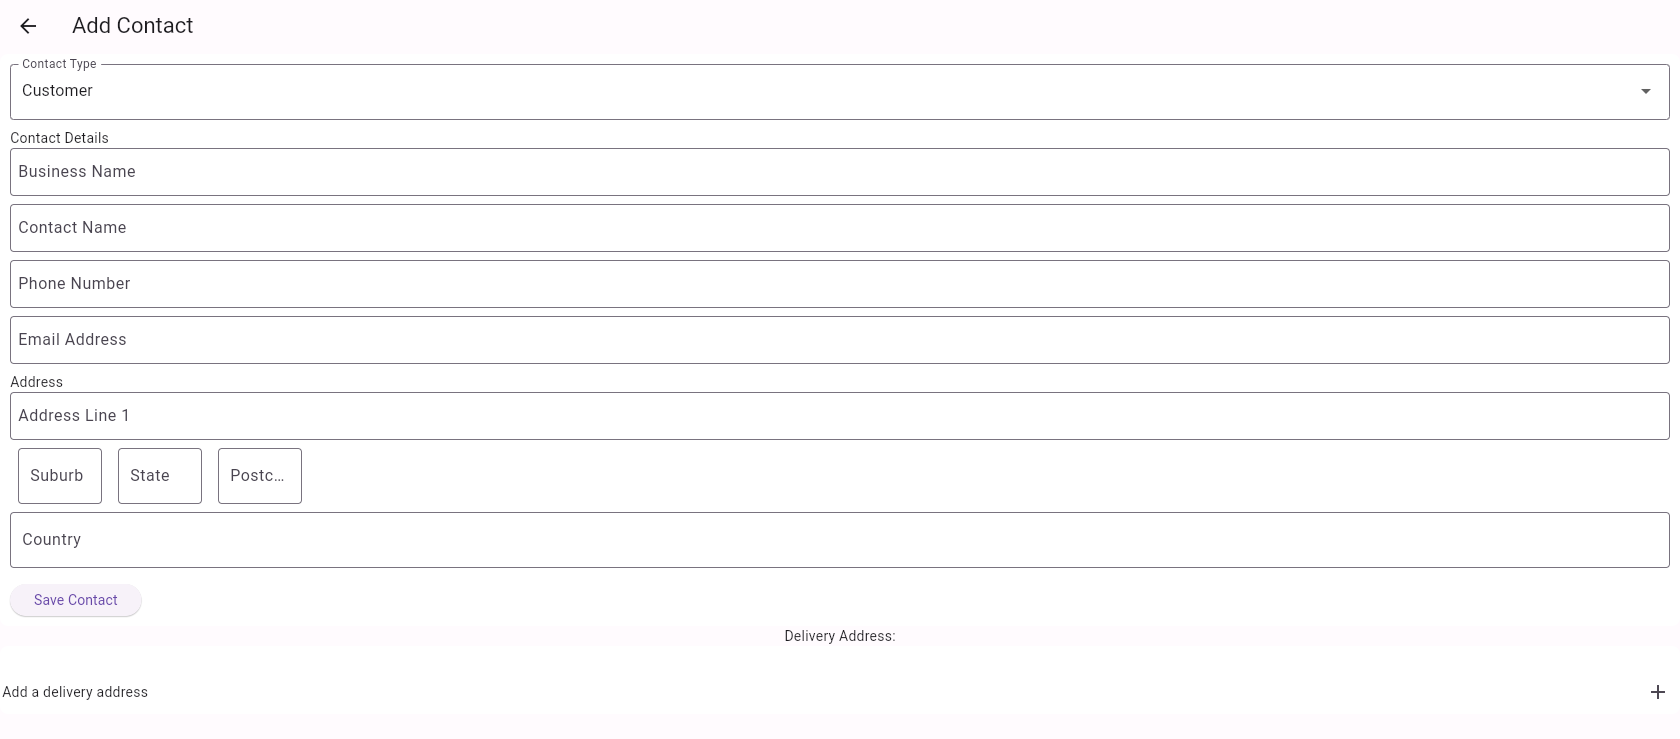
The "Rebuild" button provides a way to refresh the list of contacts after adding new contacts.
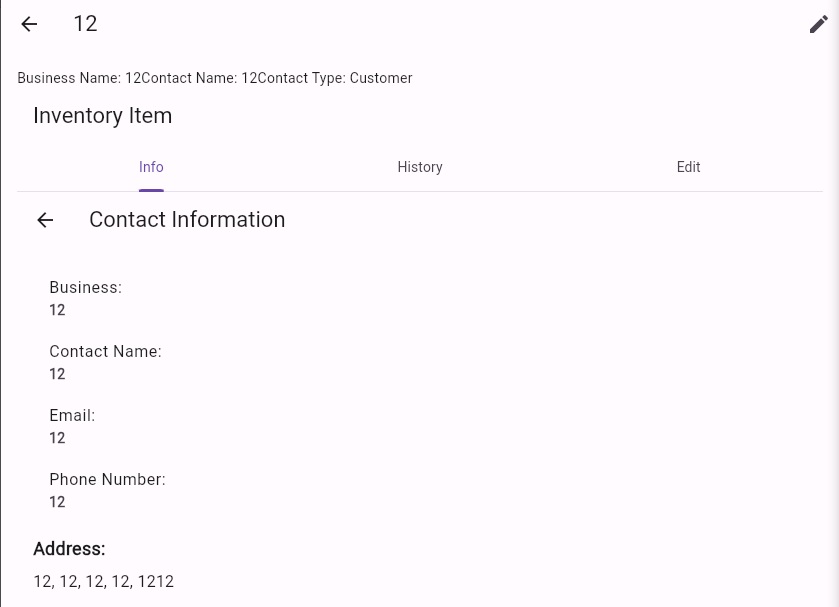
Contact Information
Clicking on an individual contact opens the contact's information. On the info page, you'll find the contact's primary details, including associated addresses, phone number, email, contact name, and business name.
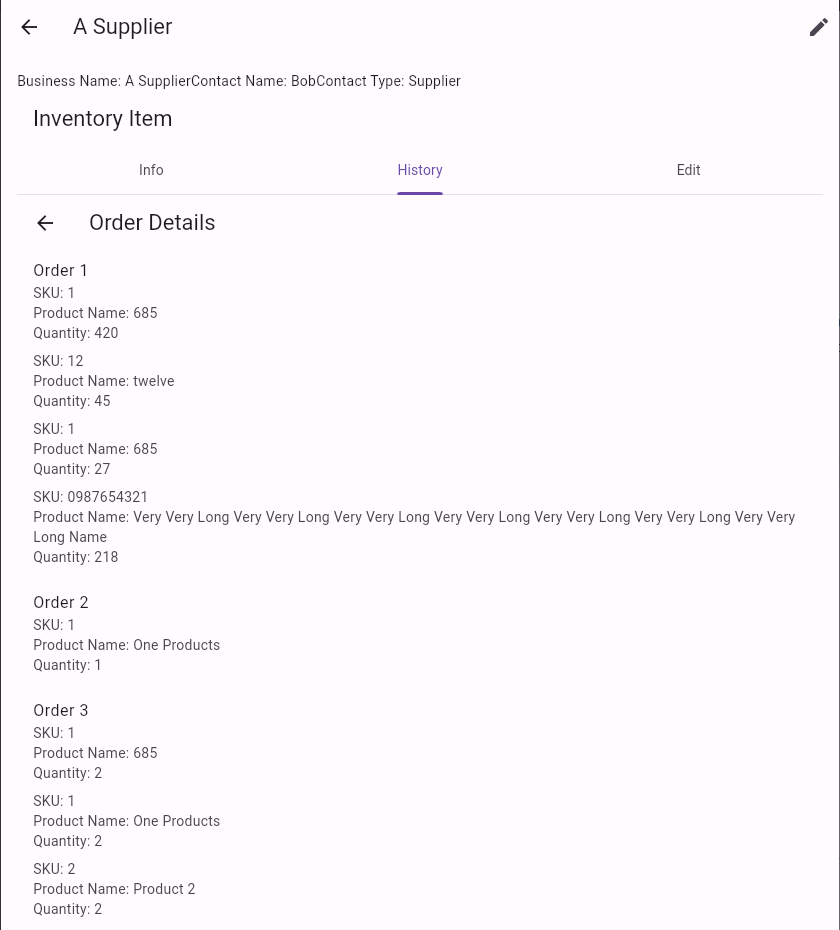
History tab
The History tab lists all orders made using the contact information associated with that specific contact.
Quickly add new customer
If the customer's details for the order are not available, you can easily add a new customer.
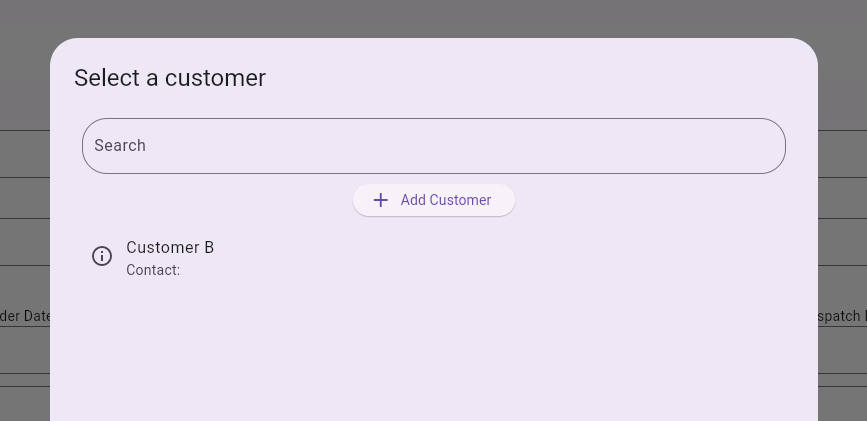
Clicking "Add Customer" opens a window where you can search for existing customers or create new ones using contact info.
When on the Create Send or Create Receive pages, pressing this icon will open the Add New Customer window. This allows you to input the necessary information to create a new customer profile directly from the order creation page, streamlining the process.

This action will bring up the "Select a Customer" list. From there, pressing "New Customer" will allow you to add a new customer to the system.
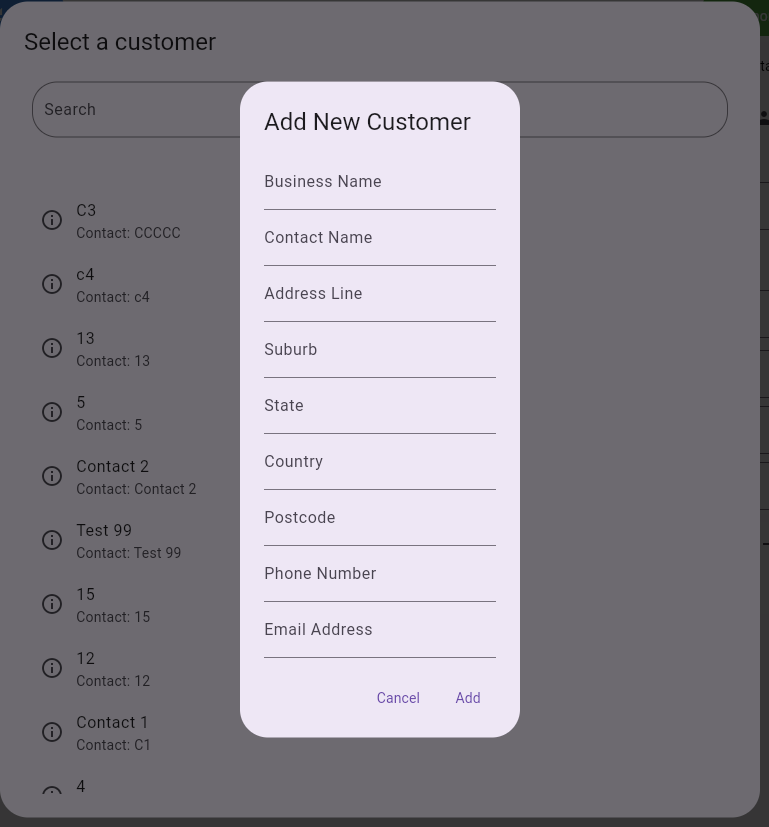
From there, you can input the necessary information, such as the Business Name, Contact Name, Address Line, Suburb, State, Country, Postcode, and contact details, along with any other relevant information, to create a new customer profile.
This comprehensive data collection ensures that all order-related details are accurately recorded for future reference and communication, facilitating smooth interactions and efficient order management processes.
Once you've entered all the required information, simply press "Add". At this point, you can choose to either search for the newly added customer in the "Select a customer" list or go back to the order you were working on. This flexibility allows you to seamlessly integrate the newly created customer profile into your order.
If you have multiple orders with unique customers, create all the customers first.